Thursday, January 31, 2013

Clean & Simple Card Making (2) Day 4


I am trying so hard to be a good student, and not fall behind on my homework.  I will work early and late, if I need to, but will NOT pull any all nighters for this class.  I am so over that stage of life, thank goodness.  I have three cards for today's lesson.


I pretty much followed the layout of Julie's card for this card.  She showed us how to paint the image with a bit of water.  I am not showing my attempt at that technique.  Trust me, you don't want to see.  This is the card I made after I decided to skip the water coloring tip.  I also decided not to flick ink all over my nice white card, but instead settled for some small silver pearls.  She used a really beautiful Hero Arts Dogwood stamp, with lots of detail.  That stamp is going on my list.  I only wish it wasn't a wood stamp.  I have been eying that stamp on and off for over a year, and the only reason I haven't bought it is because of the wood.  My clear stamps have totally spoiled me.


This next card is basically the same card as above, but is supposed to look like a blueprint--with white ink on a dark blue base.  I felt like this card had a more serene feel, and so I made it a sympathy card--always good to have those on hand.


The next video was a clean and simple chalk board card.  Unlike some of the other videos I have seen with this technique, we were encouraged to keep our card clean--no smudges or double stamping.   Kristina showed us how to lay out our stamps on the card stock and then pick up the entire scene with a stamp press, so we could stamp one time and everything was in the right place.  What a great trick, and now I see why a stamp press is so much more handy than a normal block.  She also showed us how to ground our image using an embossing folder just on the bottom of the card, and how to use a t-square to frame our images with a white gel pen.  I am entering this card into the current Passion for Papertrey challenge, which is 'black and white'.


My last little project for today is another Valentines pillow box, for this week's Make it Monday #102:  Pillow Box Stamping and Assembly. I am really loving the kraft, red, white and black color scheme on these boxes.


One last note--as the current challenge at Simon Says Stamp is 'Anything Goes', I will be entering all of these projects (and everything else I create this week) into that challenge.


Supplies Used (PTI):
Birthday
Stamps:  Harvest Berries, Verve Big Wish
Paper:  White
Ink:  SU Brilliant Blue
Other:  Lil Inkers Stitched Sentiment Flag, pearls

With Sympathy
Stamps:  Harvest Berries, Peaceful Garden
Paper: Enchanted Evening
Ink: Fresh Snow
Other:  Lil Inkers Stitched Sentiment Flag, pearls

Just Sittin' Here
Stamps:  On My Couch and Additions
Paper:  True Black
Ink:  Versamark
Other:  White Embossing Powder, Gel Pen, rhinestone, SU Square Lattice Embossing Folder

Pillow Box
Stamps:  Framed Out #11 & 12
Paper:  Kraft
Ink:  Versacolor Tuxedo Black, Fresh Snow, SU Real Red
Other:  Pillow Box Die


Thanks for Visiting

The 12 Kits of Holidays: January, 2013


New year--new plan.  Welcome to the first month of our second year as a "12 Kits" group.  We are welcoming two new members this month--both very sweet gals and talented card makers, too.  Tracey from In My Creative Opinion and Kelly from Gingham Girl are joining us starting this month.  You may have noticed our new logo--we are no longer just doing Christmas cards.  Stay tuned as we work through the months of the year and create for lots of different occasions and holidays.

Our theme for January is Valentines and other love-related occasions.  I am the hostess this month, and that means that I assembled and sent out the kits to all the members of the group.  I pulled out all my valentines stuff and assembled a kit with a little bit of lots of different things.  I am embarrassed to admit that there were things I pulled out that I bought quite a long time ago that I had never even used before.  Here is a picture of the kit.


Photo Courtesy of Kara

I made 8 cards, and still have lots left over from my kit.  Plus, I have all the stamps and dies, so I am planning on doing a lot of casing.  I have found that the kits are getting larger as time goes by, and I guess I am trying to help that along. 


Here is a list of what was in the kit:


Stamps:

Paper Smooches:  Good Gab

Stampin Up:  XOXO, Valentine Defined

WPlus9:  Love You More, A Pocketful Valentine

PTI:  Love & Marriage, Think Big Favorites, Just the Ticket, Heart Prints

Technique Tuesday:  Love Makes the World Go Round

Verve:  Wild Thing


Dies: 

PTI:  Perfect Patches, Mat Stack #3, Just the Ticket, Heart Border, Heart Prints, XOXO Border

Memory Box:   Piestra Tile

Lil Inker:  Stitched Squares and Rectangles, Instant Camera, Stitched Sentiment Flag


Paper:  PTI White, Sweet Blush, Aqua Mist, Hawaiian Shores, Pure Poppy, MME Lucky in Love, SU Red Glitter

Ink:  SU Real Red,  PTI Pure Poppy, Hawaiian Shores, Versafine Onyx Black, Memento Tuxedo Black

Embossing Folder:  Sizzix,

Other:  Queen & Company Twisted Twine (Oozak),  May Arts Chevron Striped Twill (Really Reasonable Ribbon), Rinestones/Pearls Kaiserscrapbook


 Please head on over to the other members of the 12 Kits group and see what they have done with their January kit.  


Joyce of Cards-by-the-Sea (that's me!)
Kara of KandR Designs
Jessica of The Paper Parade
Jeanne of A Kept Life

Sharron of On Papillon Wings
Kelly of Gingham Girl


Thanks for Visiting

Wednesday, January 30, 2013

Clean & Simple Card Making (2) Day 3 Plus Some More


I've got two projects from today's Clean & Simple Card Making class.  The first uses a technique called Gradient Stamping.  I used Background Basics Circles in Hawaiian Shores, Spring Moss and Aqua Mist.  It took a bit of trial and error, but I think I finally got it to work.


The next technique had us stamping on labels, which we then cut up.  I couldn't find my labels, so I used a piece of PTI Adhesive Sheets.  This was a fun card to make, but honestly, I don't know why the stamping had to be done on a label, rather than just a piece of card stock with adhesive...Anyway, here is my card.  I am also entering this card into this week's Simon Says Stamp and Show:  Seeing Stars.


My next project today is a pillow box full of chocolates that I am entering in this week's Make it Monday #102:  Pillow Box Stamping and Assembly.  I cut a Pillow Box out of white card stock, and stamped it with a random pattern of owls.  Before I assembled it, I cut a few heart shaped windows, and then covered the windows with a piece of clear plastic cut from a PTI stamp box.  I will enter this into the Moxie Fab Challenge #60:  Make a card with a Window challenge.


You can see the windows better here:


My last card is for this week's CASology #29, where the cue word is 'Game'.  My favorite game, of course, is tennis, and I can be found out on the courts every morning, when I am not spinning, that is.  I made a card that I know will come in handy to give to one of my tennis friends who might just need a little encouragement (like yesterday when we were thoroughly trounced).  I have read that 'white' space need not be white, so I have made my white space a bright and cheery pink, to match the color of our uniform this season.  I loved this sentiment from Boy Basics:  Game On, and think it can be applicable to so much more than video games.


One last note--as the current challenge at Simon Says Stamp is 'Anything Goes', I will be entering all of these projects (and everything else I create this week) into that challenge.


Supplies Used (PTI):
U Rock
Stamps:  Background Basics:  Circles, Say it With Style
Paper:  White, Hawaiian Shores
Ink:  Hawaiian Shores, Spring Moss, Aqua Mist, Versamark
Other:  Tiny Tags Die, White Embossing Powder, Twine

Star
Stamps:  Star Prints, Technique Tuesday The Numbers Game, Tag-it's
Paper:  White, Soft Stone, Patterned scrap from my bin
Ink:  Soft Stone, Ocean Tides, Canyon Clay, Spring Rain
Other:  Adhesive Sheet

Pillow Box
Stamps:  There She Goes You're a Hoot, Framed Out
Paper:  White
Ink:  Hawaiian Shores, Limeade Ice, Blueberry Sky, Aqua Mist
Other:  Pillow Box, Heart Print, Tremendous Tags Dies, Hawaiian Shores Ribbon

Game On
Stamps:  Boy Basics:  Game On, Clear Dollar Tennis
Paper:  White, Hibiscus Burst
Ink:  Hibiscus Burst, Versafine Tuxedo Black
Other:  Lil Inkers:  Instant Camera and Stitched Rectangle Dies, Picnic Plaid Impression Plate, Rhinestones


Thanks for Visiting

Tuesday, January 29, 2013

Clean & Simple Card Making (2) Day 2--Part 2, and ColourQ #174


I wanted to try one more technique that we learned this morning, and this week's ColourQ #174 colors were just what I needed for my card.  The technique is masking and reverse masking, as well as a simple faux embellishment.  I used a tiny dark pink rhinestone for the Raspberry Ripple, PTI Hibiscus Burst ink for the Primrose Petals, Memento Angel Pink Ink for the Pink Pirouette, Memento Rich Cocoa Ink for the Early Espresso, and Vintage Cream card stock for the Vanilla.

I die cut a heart out of a 4.25 x 5.5 " paper, right where I wanted my heart positioned on my card, used temporary adhesive to stick it to my card front, and sponged Memento Angel Pink within the heart shaped space.  Then, I removed that mask, covered the pink heart with the mask, and stamped Background Basics Circles across the card front.  Removed the heart mask, and I had my focal point. 


My faux embellisment is made just like Julie's, from a domed epoxy circle I found in my stash, adhered over a bit of stamped card stock.


Supplies Used (PTI):
Stamps:  Background Basics: Circles, Think Big Favorites, Lawn Fawn Belinda's Borders
Paper:  Vintage Cream
Ink:  Memento Rich Cocoa & Angel Pink, Hibiscus Burst
Other:  Domed Epoxy Circle, Rhinestone


Thanks for Visiting

Clean & Simple Card Making (2) Day 2 and Make it Monday #102


I have a card for today's Clean & Simple Card Making class.  The lesson today was all about one layer cards, and I chose the debossing technique.


Here is a closer look at the debossed portion.


I also have a little project for this week's Make it Monday #102:  Pillow Box Stamping and Assembly.  I stamped a random background pattern on my pillow box using Framed Out #11, then adhered some of the die cuts from that set.


Here is a picture of the back, where you can better see the background stamping.


Supplied Used (PTI):
Love
Stamps:  Postmarks, Heart 2 Heart
Paper:  White
Ink:  Versacolor Onyx Black, SU Real Red, PTI Soft Stone & Enchanted Evening, Memento London Fog
Other:  Postage Stamp Die

Pillow Box
Stamps:  Framed Out
Paper:  Kraft, Pure Poppy
Ink:  Kraft, SU Real Red, Versamark
Other:  Framed Out and Pillow Box dies


Thanks for Visiting

Monday, January 28, 2013

Clean & Simple Card Making (2) Day 1


Today is the first day of Clean & Simple Card Making (2), and already we have homework.  At least it is the fun kind of homework.  I am taking this online class with two friends who I met online.  We have been passing virtual notes during our virtual class, and it's all been great fun so far. 

We got lots of good hints to improve our cards today, and 4 sketches, too.  I made cards for two of those sketches today.


They used speech bubble dies in two of their cards today.  Those are now on my wish list.  But, here is what I did today--I stamped one of the speech bubbles from Lawn Fawn A Birdie Told Me on Hawaiian Shores card stock, cut it out, and then turned it over.  They also used some paper tape that came in full sheet size.  Those went on my wish list, too.  I'll bet you can see where this is going.  I think I will have quite a list in two weeks.  Thank goodness for the discount code they will be providing all participants.

One of the nice features they have added to this class since the first time I took it is that every lesson has a PDF, so I can make a binder of all the sketches, supply lists, helpful hints, etc.


Supplies Used:
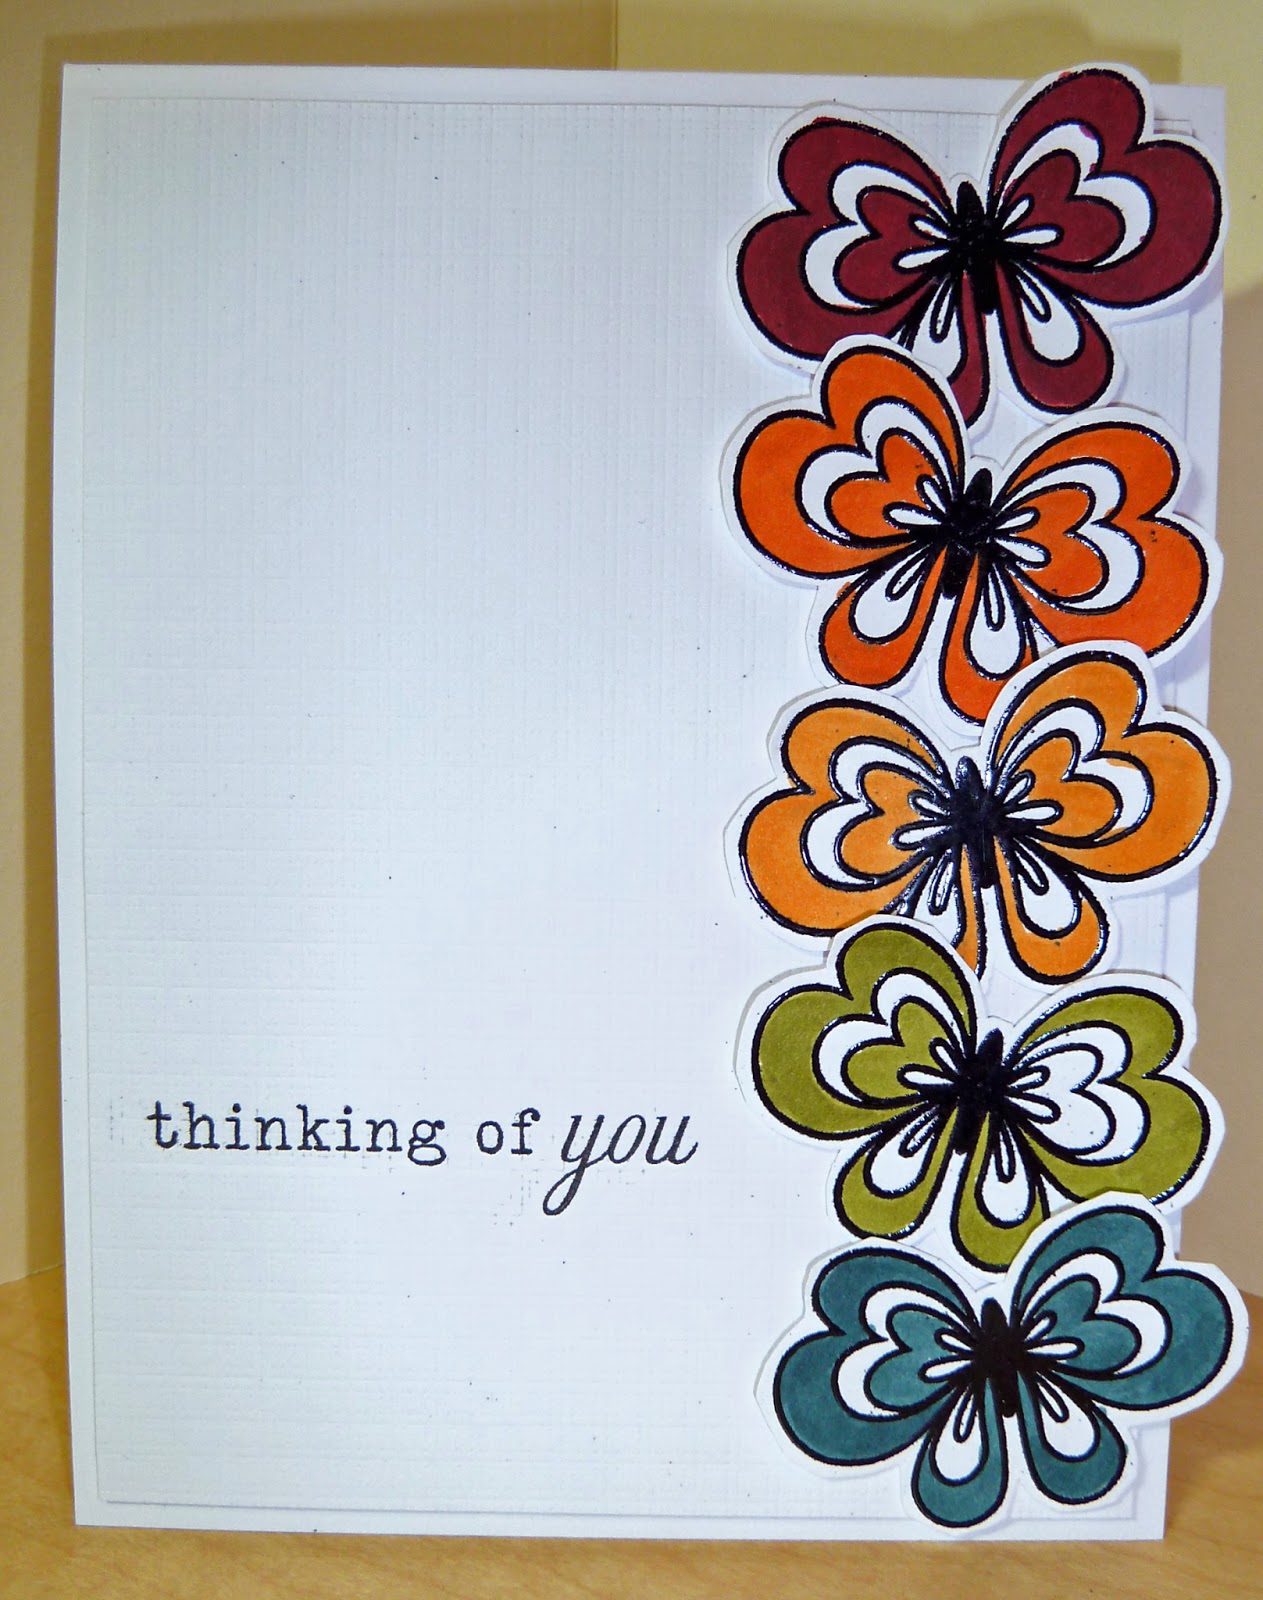
Thinking of You

Stamps:  PTI Hello Sunshine, Background Basics Herringbone, Hero Arts Everyday Greetings
Paper:  White, Summer Sunrise
Ink:  PTI Soft Stone, Versamark, Versafine Onyx Black
Other:  White Embossing Powder, Spellbinder Circle Die

You're Special
Stamps:  Hero Arts Envelope Background, Paper Smooches Sentiment Sampler
Paper:  White, Hawaiian Shores card stock and pattern pack
Ink:  PTI Aqua Mist, Versamark
Other:  White Embossing Powder, Rhinestones


Thanks for Visiting

Sunday, January 27, 2013

My Busy Sunday


I spent a good part of today in my craft room.  My oldest had a lot of homework, and the best way to make sure she did it was for us to both hang out in my office--she with her schoolwork, and me across from her, crafting away.


I needed a thank you card for a very sweet friend who sent me a wonderful surprise.  I decided to use this week's Color Throwdown CTD226 colors, which I interpreted as Spring Moss, New Leaf, Plum Pudding and Winter Wisteria.


My mom asked me if I had any cards that were either blank, or said something like 'thinking of you', so I got to work.


I liked this week's dynamic duos color scheme for either a sympathy card or a somber type of thinking of you card.  I used PTI Fine Linen and SU Crumb Cake.


PTI Larger than Life stamped in Fine Linen on Vintage Cream, with the sentiment in SU Crumb Cake.


I can't seem to get the color right on this picture--but it is PTI Larger than Life stamped in SU Crumb Cake on PTI Fine Linen paper.


These cards are 3.5 by 5--Mehndi Medallion in Ocean Tides and Scarlet Jewel, embossed with clear, with a sentiment from PTI Postmarks.
 

These cards were inspired by this post by Kate on A Passion for Papertrey--the pencil from Happy Trails in various colors with a sentiment from Botanical Silhouettes.


I took out my copics and started playing around with Quilled Elegance, to see what I could come with for this week's CAS-ual Fridays challenge to use markers.  This card by Lisa and this card by Annie provided Inspiration.  I had fun coloring and cutting with this set.
I am entering this final card into this week's Less is More Week 104, Sketch #8 challenge.
As you can see, I got a lot done today.  I will have a nice big package to send to my mom, and got to participate in a couple of my favorite challenges, too.
I'm not posting a supply list, because I'm too lazy, but please let me know if you have any questions.  I think I covered most of the big stuff anyway.
 
Thanks for Visiting
Related Posts Plugin for WordPress, Blogger...